Are you curious about how to dehydrate apples? Whether you're looking to preserve a bountiful harvest or simply want a nutritious snack, dehydrating apples is an excellent skill to acquire. This process not only extends the shelf life of your apples but also concentrates their natural sweetness, making for a delicious treat that’s perfect for snacking or adding to recipes.
Dehydrating is a fantastic way to ensure that you have access to healthy food options that can last for months or even years. By learning how to dehydrate apples, you can take control of your food storage, reduce waste, and enjoy the taste of homegrown produce year-round.
In this guide, we will walk you through the entire process from preparation to storage, ensuring you have all the knowledge you need to get started. Don't worry if you’ve never tried dehydrating food before; apples are one of the easiest fruits to work with! S
o grab your dehydrator, and let’s dive into how to dehydrate apples effectively. You’ll be amazed at how simple it is and how rewarding it feels to have your own stash of dried apples ready for use!
What You Will Need
Before we jump into the steps, let's gather everything you'll need to successfully dehydrate apples:
- A dehydrator
- Cinnamon (optional, but adds great flavor)
- Cooking spray or oil
- Mason jars or other storage containers
- An apple peeler, corer, and slicer (this is optional but makes the job easier)
- A cutting board
- A juice squeezer
- Fresh apples
- Lemons
- A bowl
- A knife
Once you have these items, you are ready to start the dehydrating process!
Step-by-Step Guide on How to Dehydrate Apples
Preparation
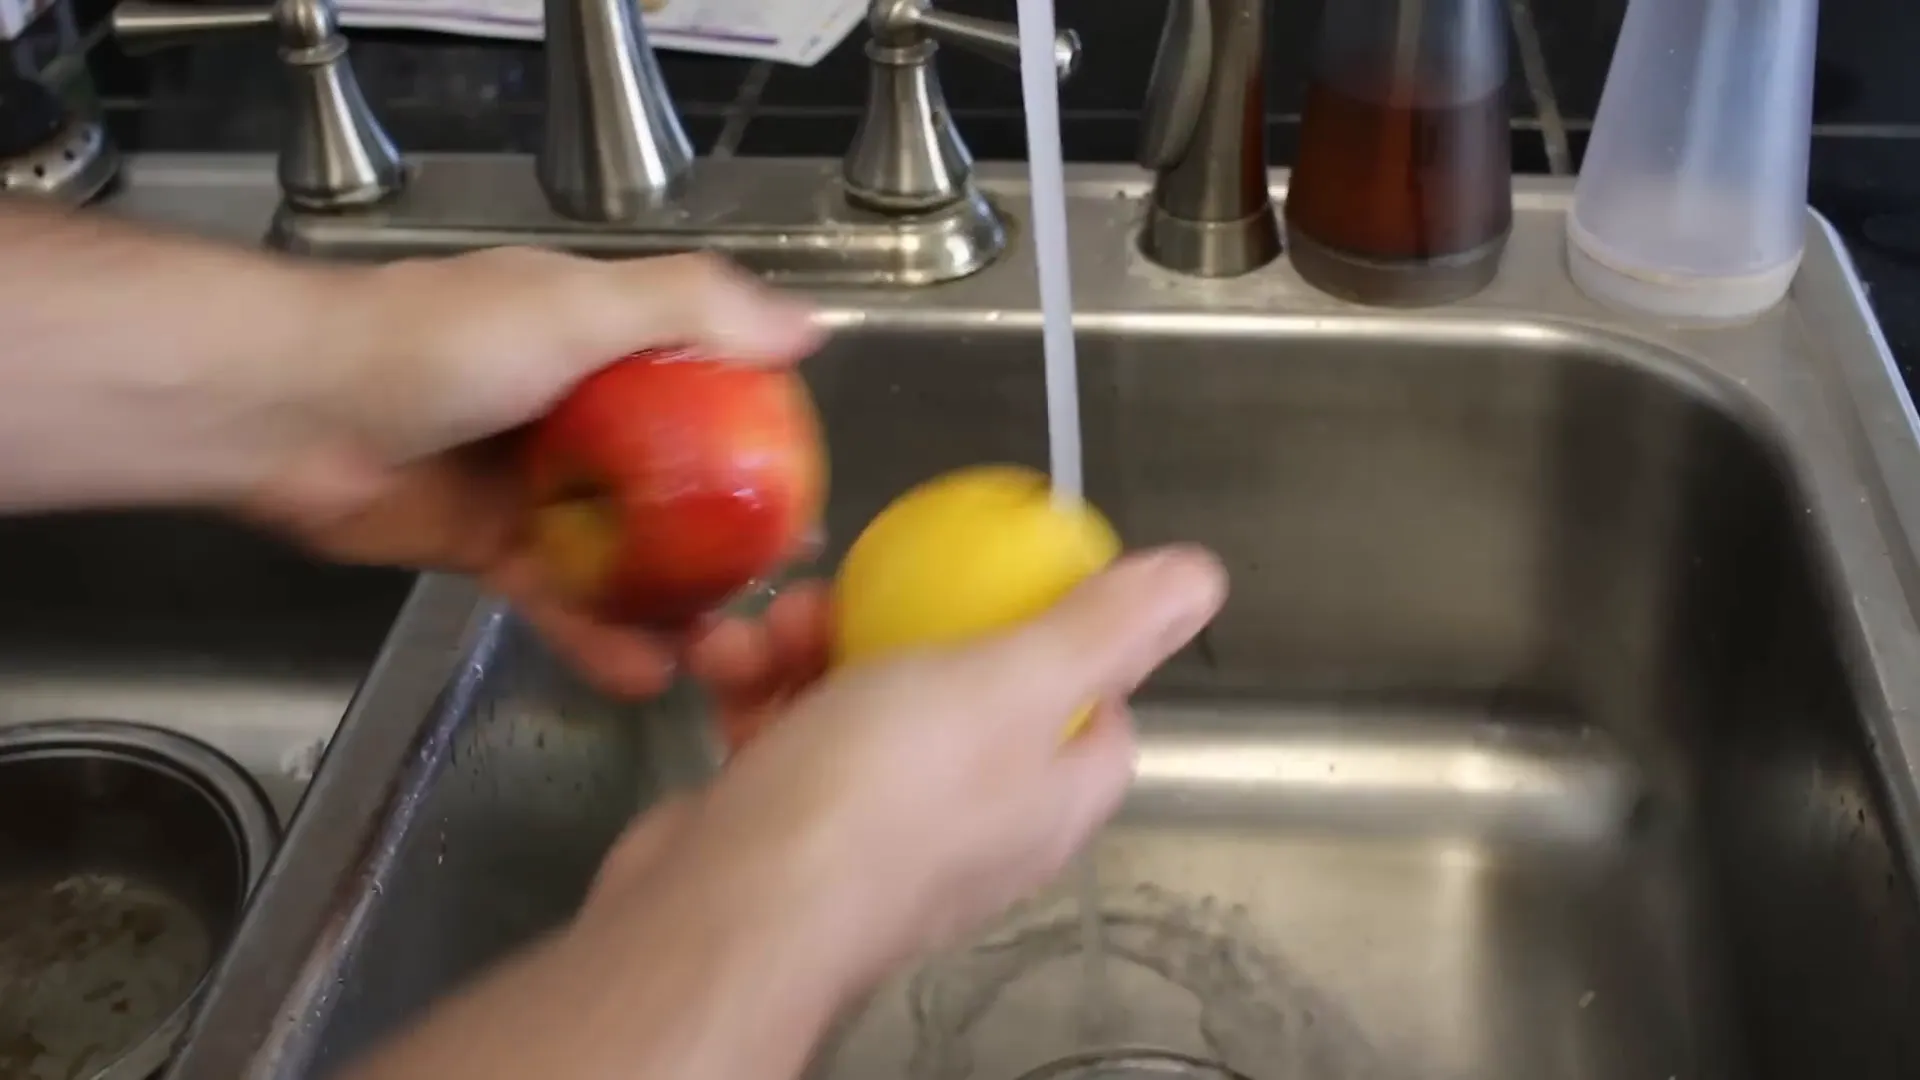
First, rinse your apples and lemons thoroughly. This step is essential to remove any dirt or pesticides. Next, slice your lemons in half and squeeze the juice into a bowl, adding a bit of water to create a lemon-water solution.
Using the Apple Peeler, Corer, and Slicer
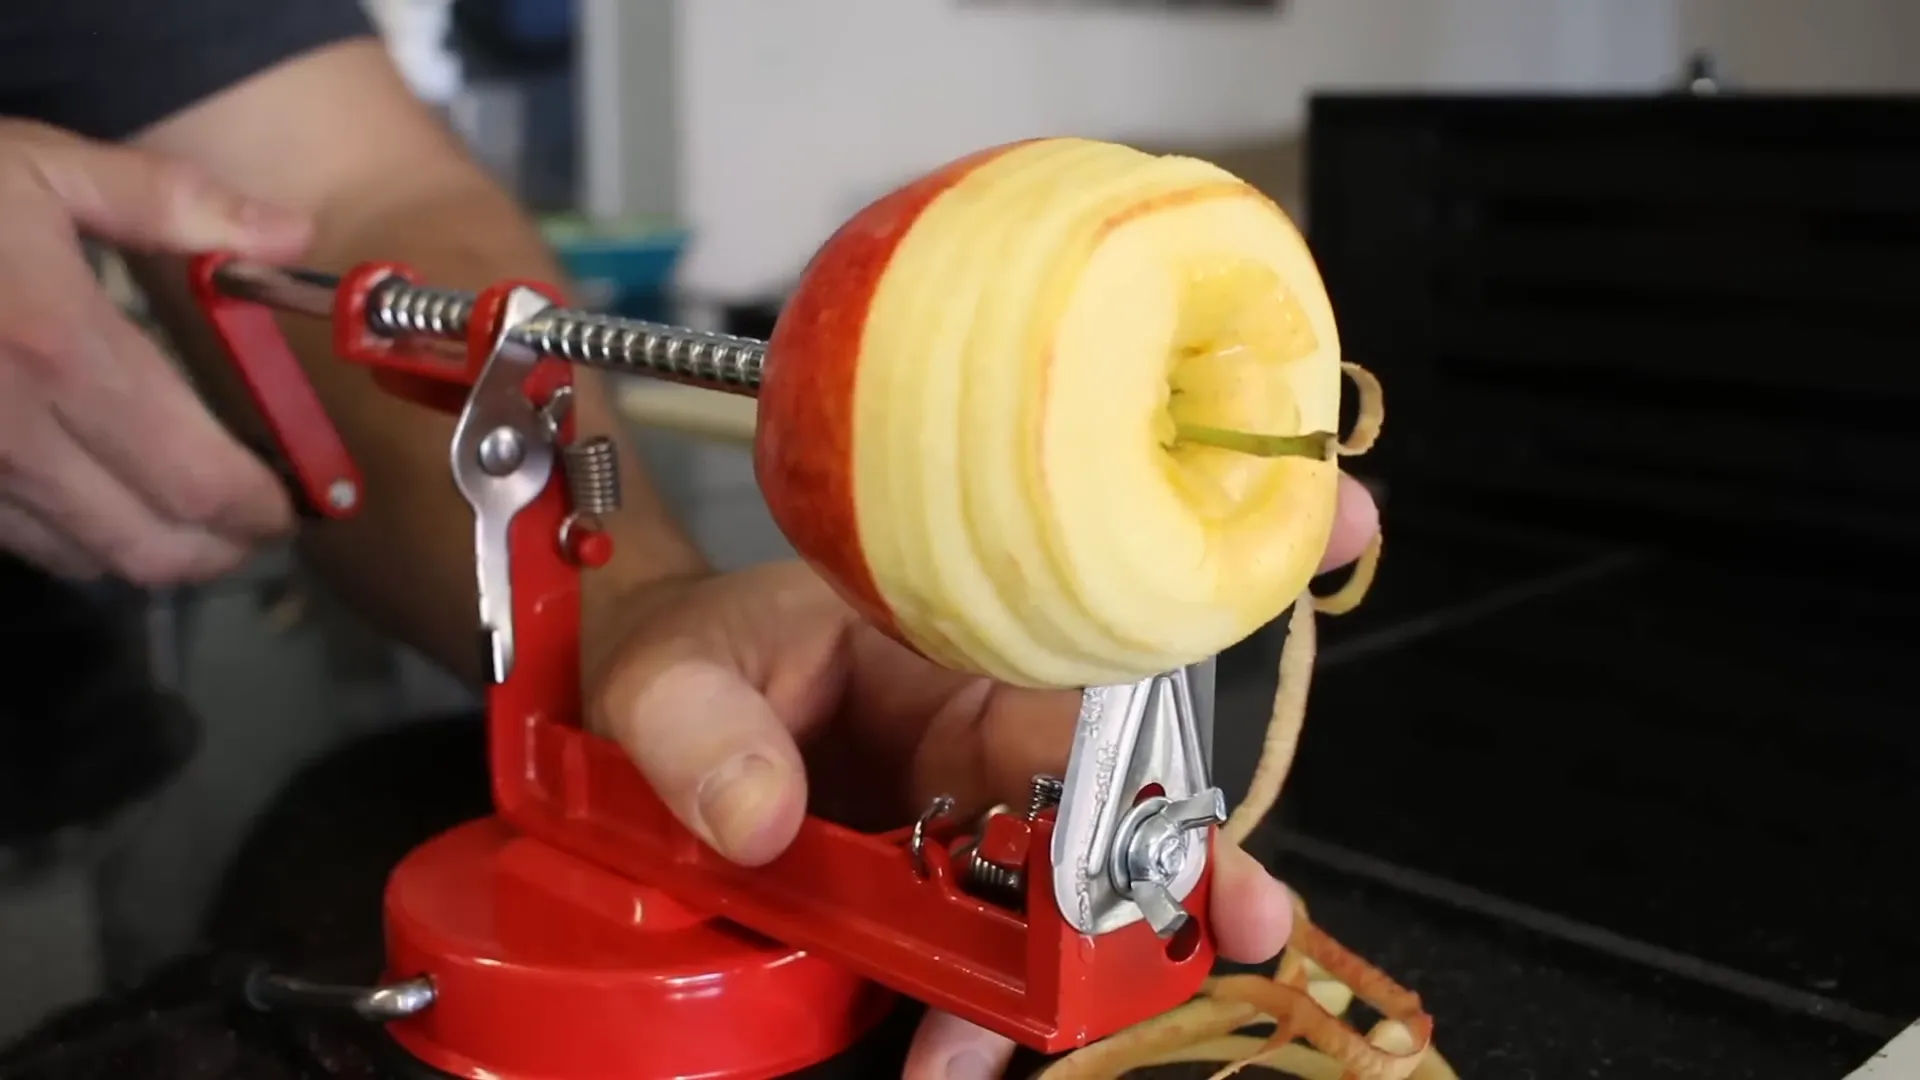
If you have an apple peeler, corer, and slicer, it will make the process much quicker. Simply lock the device onto your countertop, place the apple into the prongs, and crank the handle. The machine will core and slice the apple for you!
Cutting the Apples
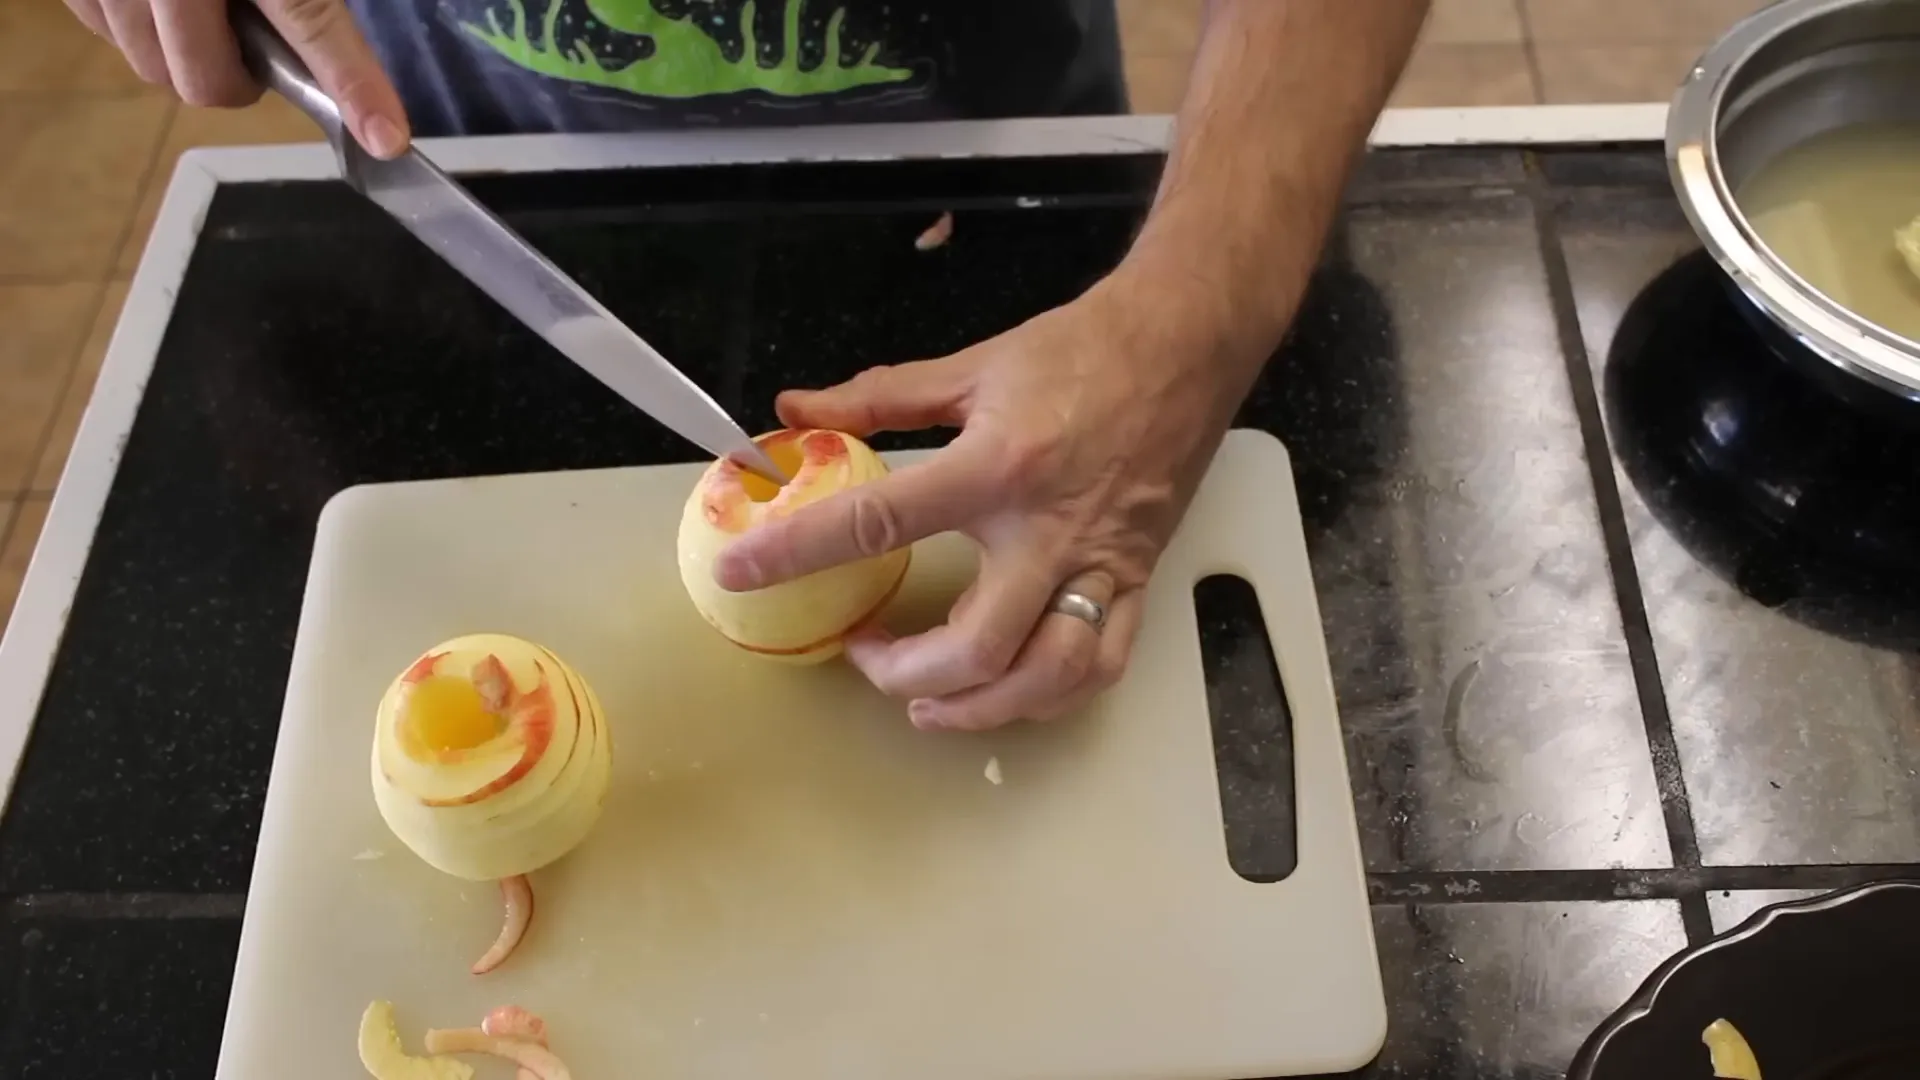
Once the apples are peeled and cored, cut them into thin slices—about 1/3 inch thick. If you don’t have the peeler, you can simply cut the apples by hand. Make sure to cut evenly to ensure consistent drying.
Preventing Browning
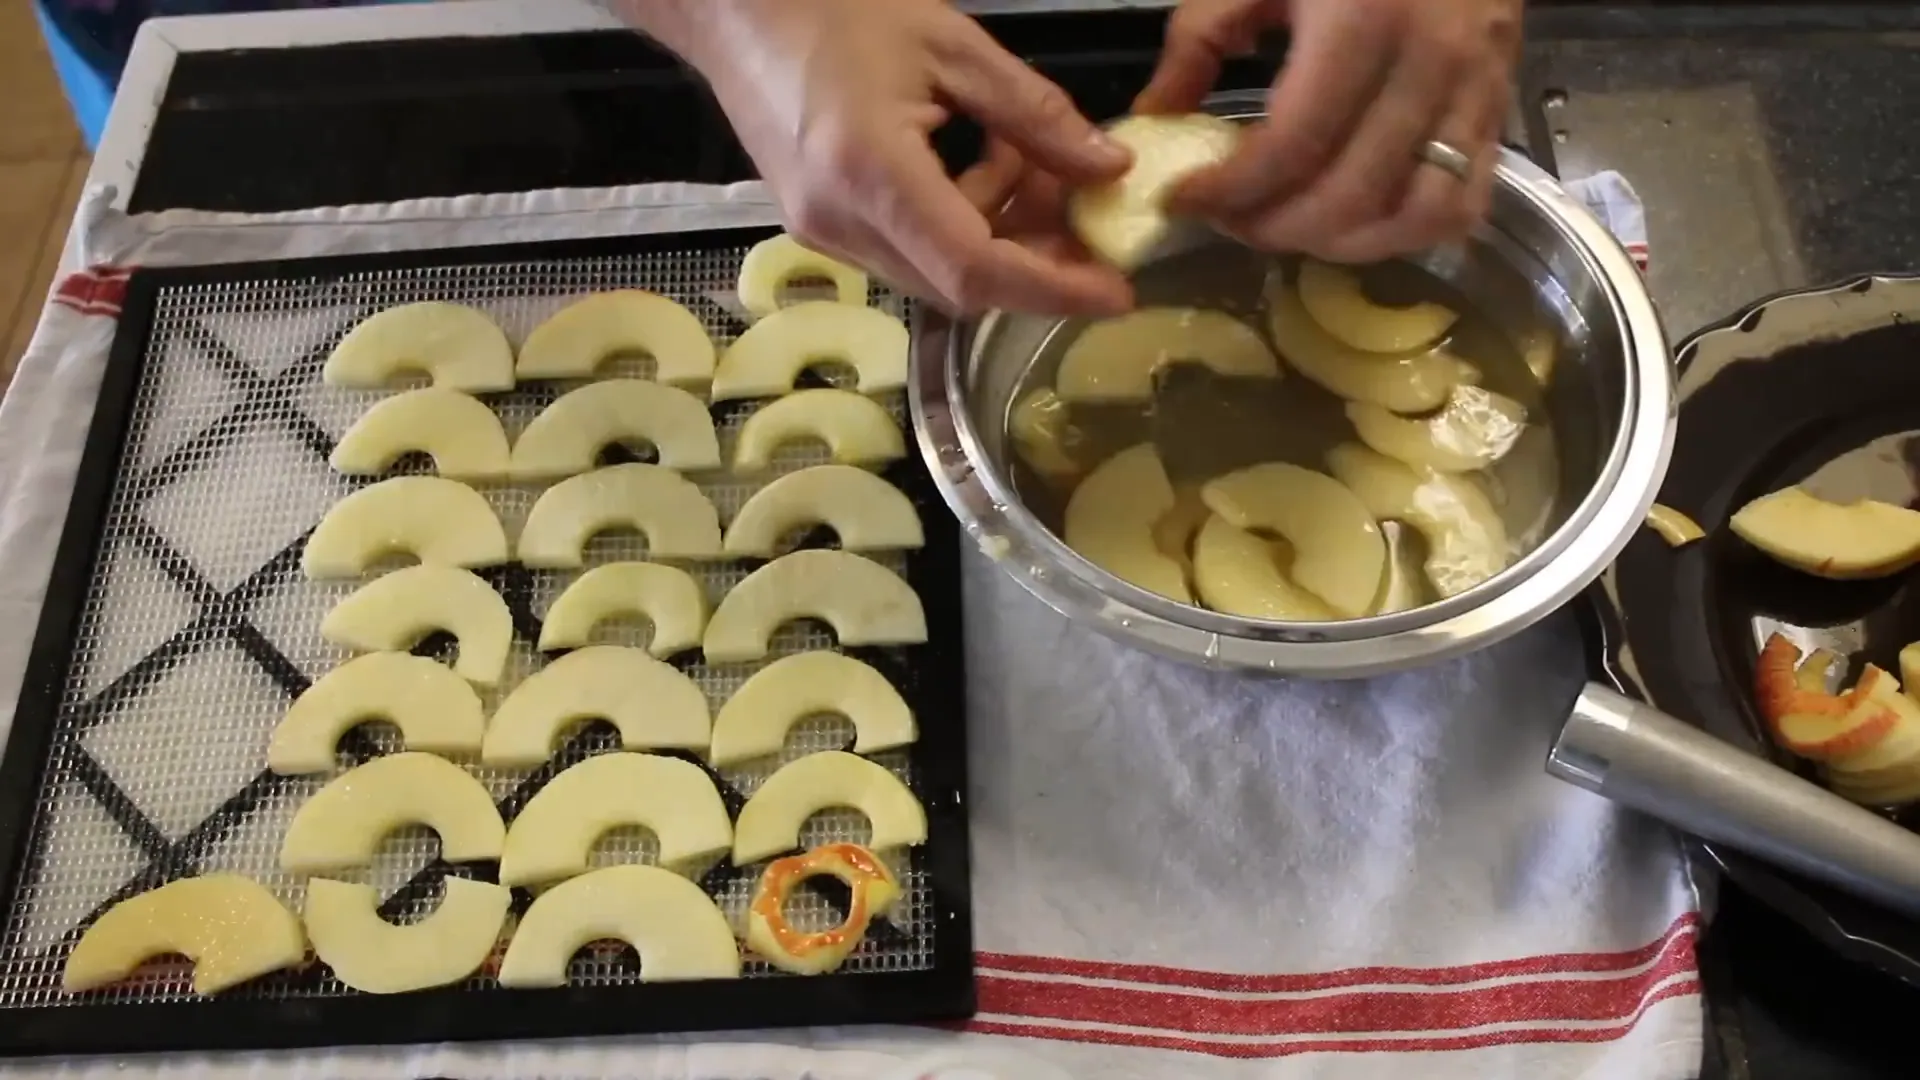
To prevent the apple slices from turning brown, toss them into the lemon water immediately after cutting. You can soak them for a longer time if you wish, but a quick dip usually does the trick. Afterward, place them on the drying racks.
Flavoring (Optional)
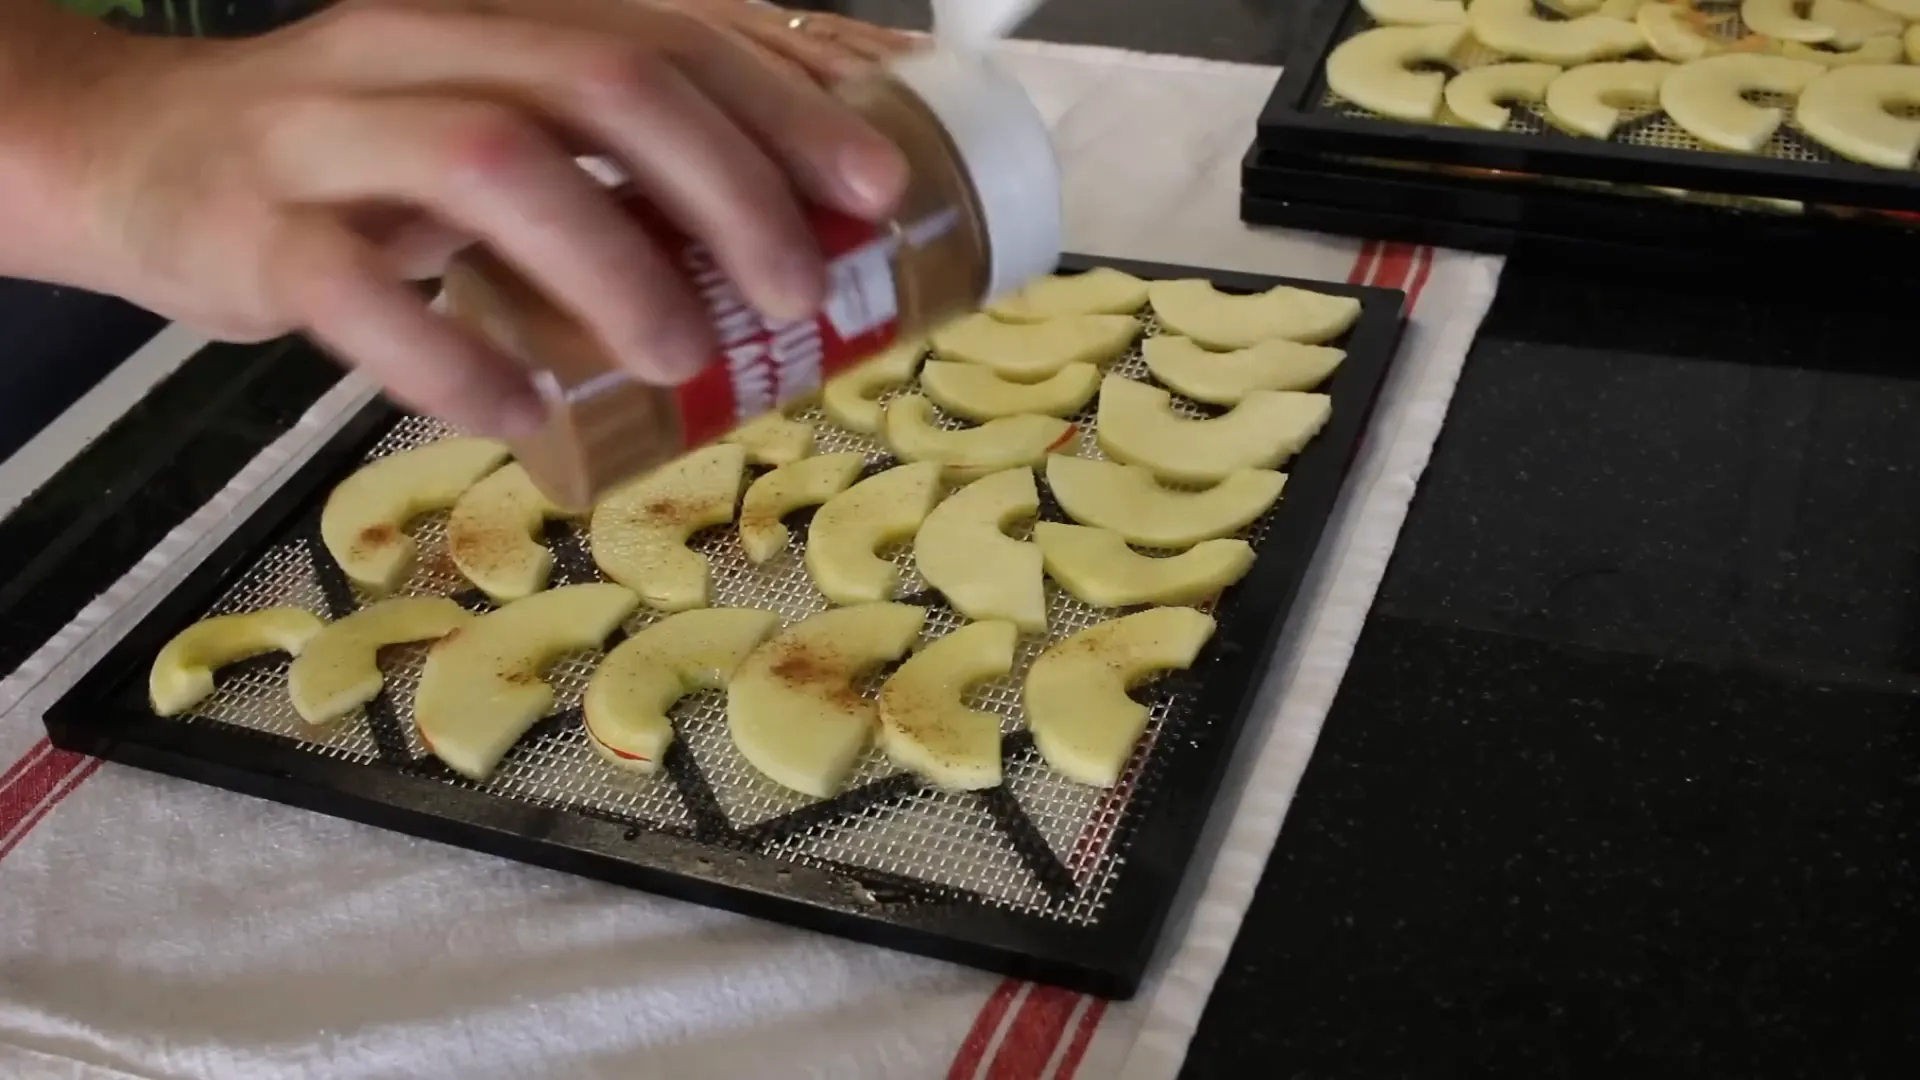
If you want to add a little extra flavor, sprinkle some cinnamon on the apple slices before placing them in the dehydrator. Some people also like to add sugar, but if you're trying to cut sugar from your diet, you can skip this step.
Dehydrating the Apples
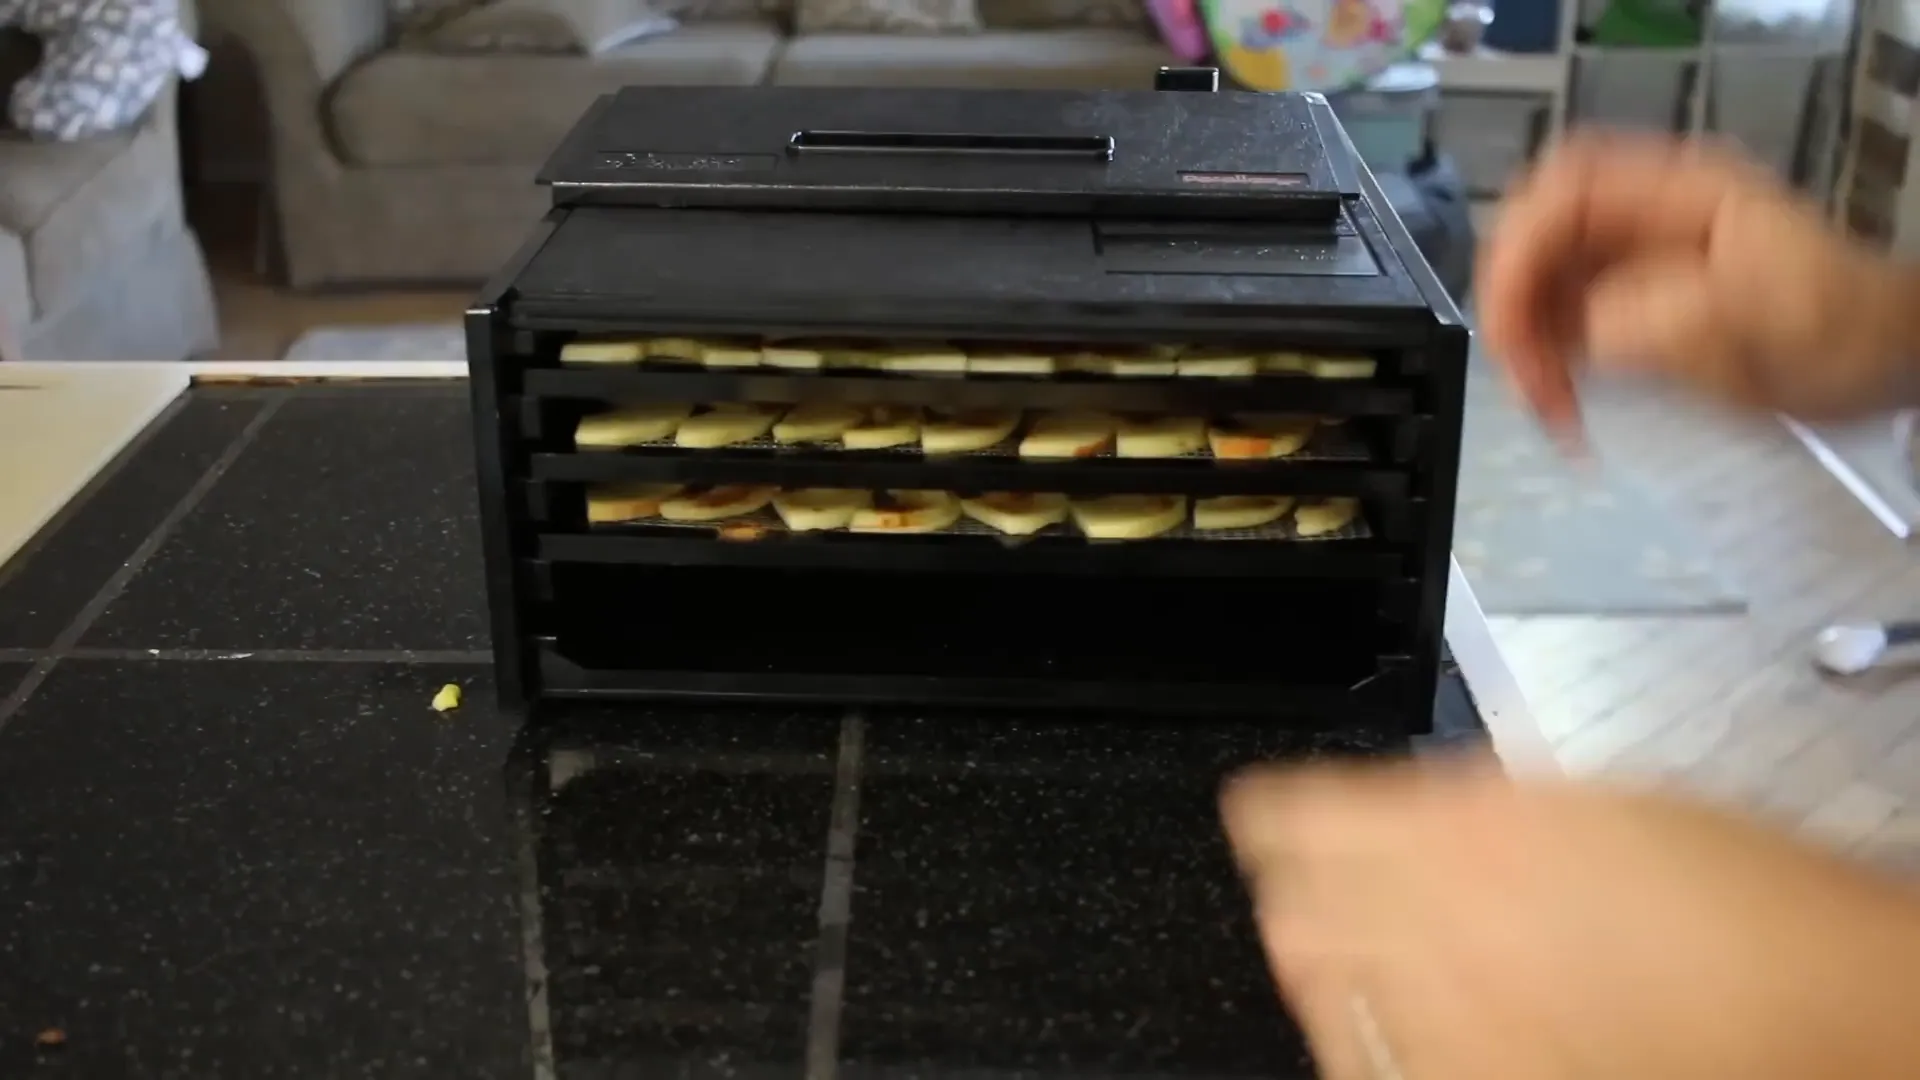
Now it’s time to load up the racks into your dehydrator. Set it to 135 degrees Fahrenheit. The drying process can take anywhere from 9 to 15 hours. For crispier apples, you might want to let them dry for up to 24 hours.
Checking for Doneness
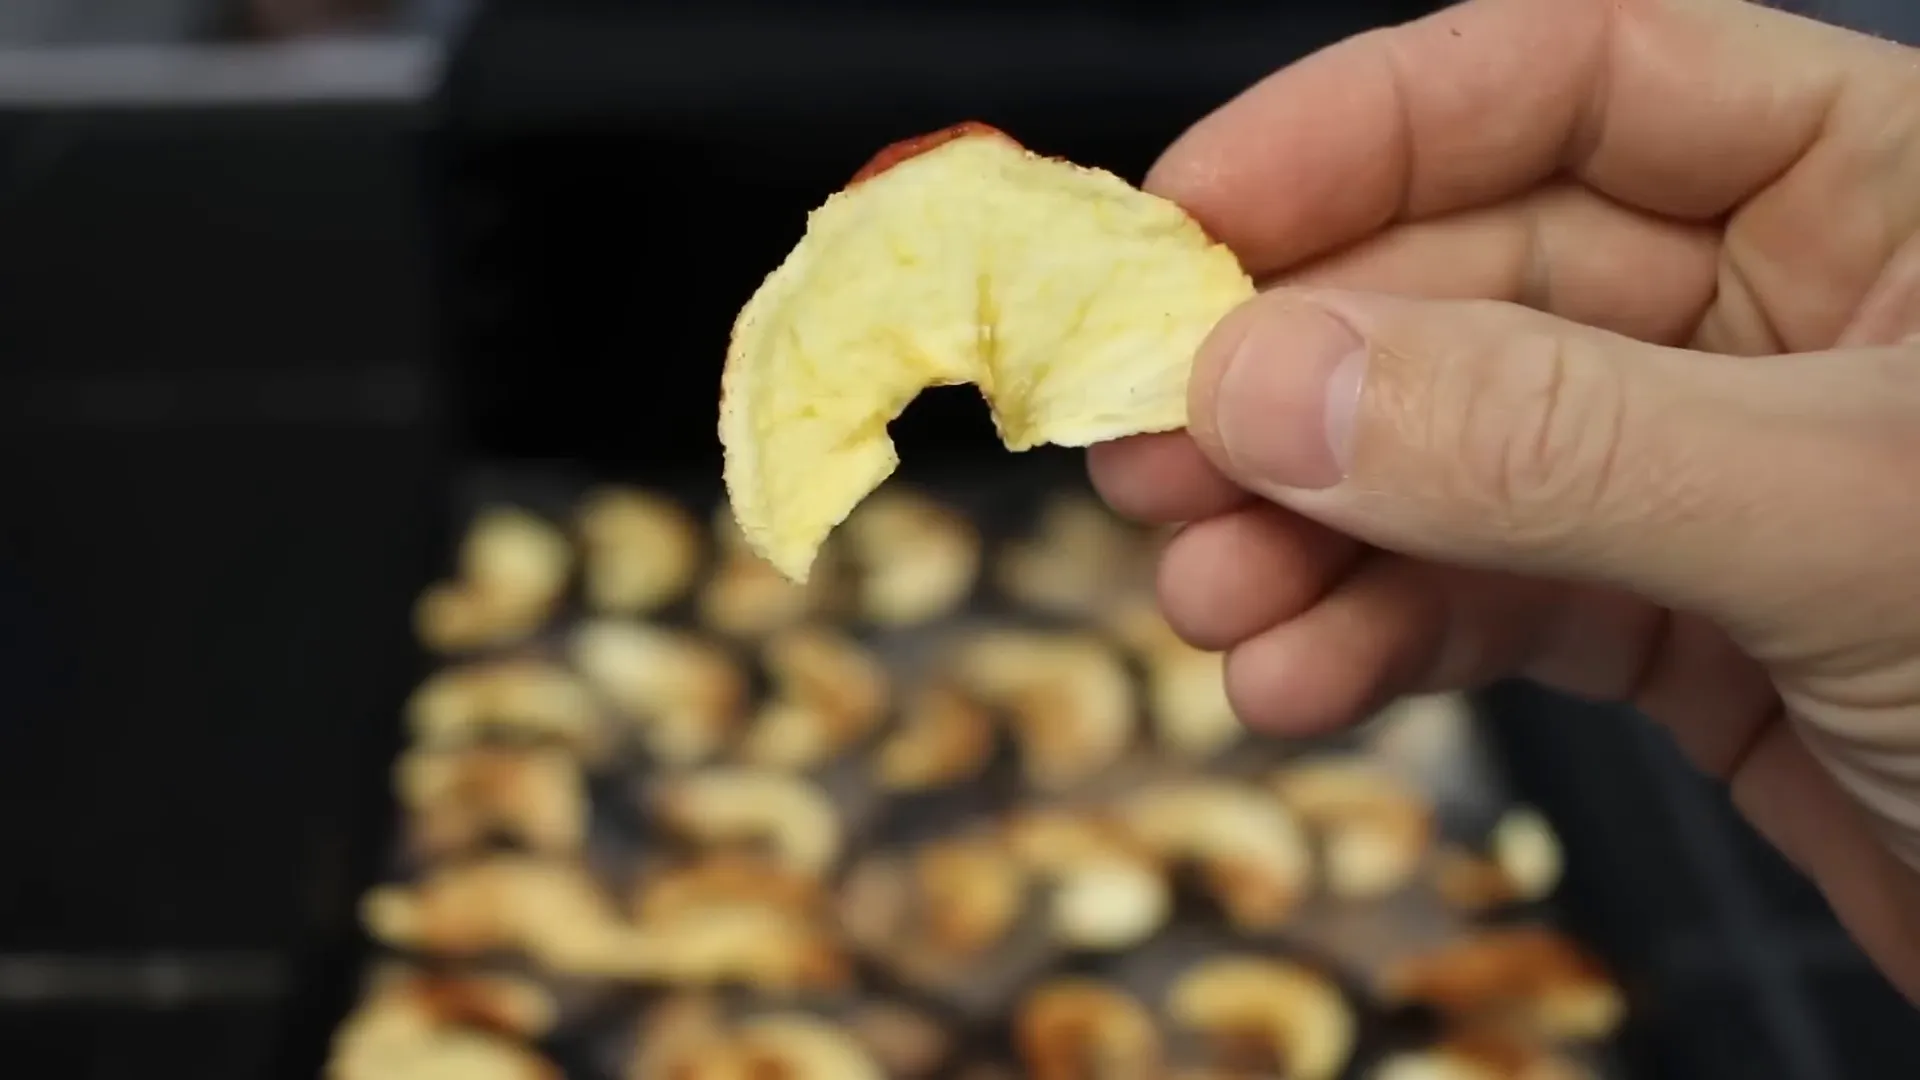
After about 12 hours, the apples will be dehydrated but may still be a bit leathery. If you prefer a crispy texture, let them dry longer. The key is to find what works best for your taste!
Storing the Dried Apples
Once the apples are finished dehydrating, it’s time to store them. You can use mylar bags with oxygen absorbers, heat seal rolls, or mason jars. Personally, I prefer mason jars as they are easy to use and keep the apples fresh.

Vacuum Sealing for Long-Term Storage
If you want to extend the shelf life of your dried apples, consider vacuum sealing them. This process removes air from the jars, which helps prevent spoilage. You can use a food saver with a jar sealer attachment for this purpose.

Why Dehydrate Apples?
Dehydrating apples is not only a rewarding kitchen project, but it also provides a number of benefits:
- Long Shelf Life: Dried apples can last for months or even years when stored properly.
- Nutritious Snack: They are a healthy alternative to processed snacks, packed with vitamins and minerals.
- Versatility: Use them in baking, cooking, or as a standalone snack.
- Waste Reduction: Dehydrating allows you to utilize apples that may otherwise go to waste.
Dehydrated Apples in Recipes
Once you have successfully dehydrated your apples, you might wonder how to use them. Here are some ideas:
- Add them to oatmeal or granola for extra sweetness and nutrition.
- Use them in baking—dried apples can be a fantastic addition to muffins, bread, or cakes.
- Rehydrate them by soaking in warm water to use in recipes that call for fresh apples.
- Mix them into trail mix for a healthy snack on the go.
Common Questions About Dehydrating Apples
1. How long will dehydrated apples last?
When stored in a cool, dark place in airtight containers, dehydrated apples can last for 1 to 2 years.
2. Do I need to use an apple peeler and corer?
No, it's not necessary, but it does make the process faster and easier. You can always slice and core the apples by hand.
3. Can I dehydrate apples in the oven?
Yes! You can dehydrate apples in the oven at the lowest setting, usually around 200°F, but it may take longer than using a dehydrator.
4. Can I add sugar when dehydrating apples?
Yes, you can sprinkle sugar on the apple slices if you prefer a sweeter snack, but it is not necessary.
5. How do I rehydrate dried apples?
Simply soak them in warm water for about 15-30 minutes until they become soft again.
Conclusion
Learning how to dehydrate apples is a fantastic way to preserve your harvest and enjoy a healthy snack that lasts. With just a few simple steps and some essential equipment, you can create delicious dried apples that are perfect for snacking, baking, or cooking. Plus, by dehydrating your own apples, you know exactly what's in them—no preservatives or added sugars.
So, gather your supplies, follow the steps outlined here, and enjoy the fruits of your labor for months to come. If you have any questions or tips of your own about dehydrating apples, feel free to share in the comments below. Happy dehydrating!

.webp)